Cinestill 800T: after the lights come on.
Work with coloured light, reflections and the space between bright highlights and deep shadows.
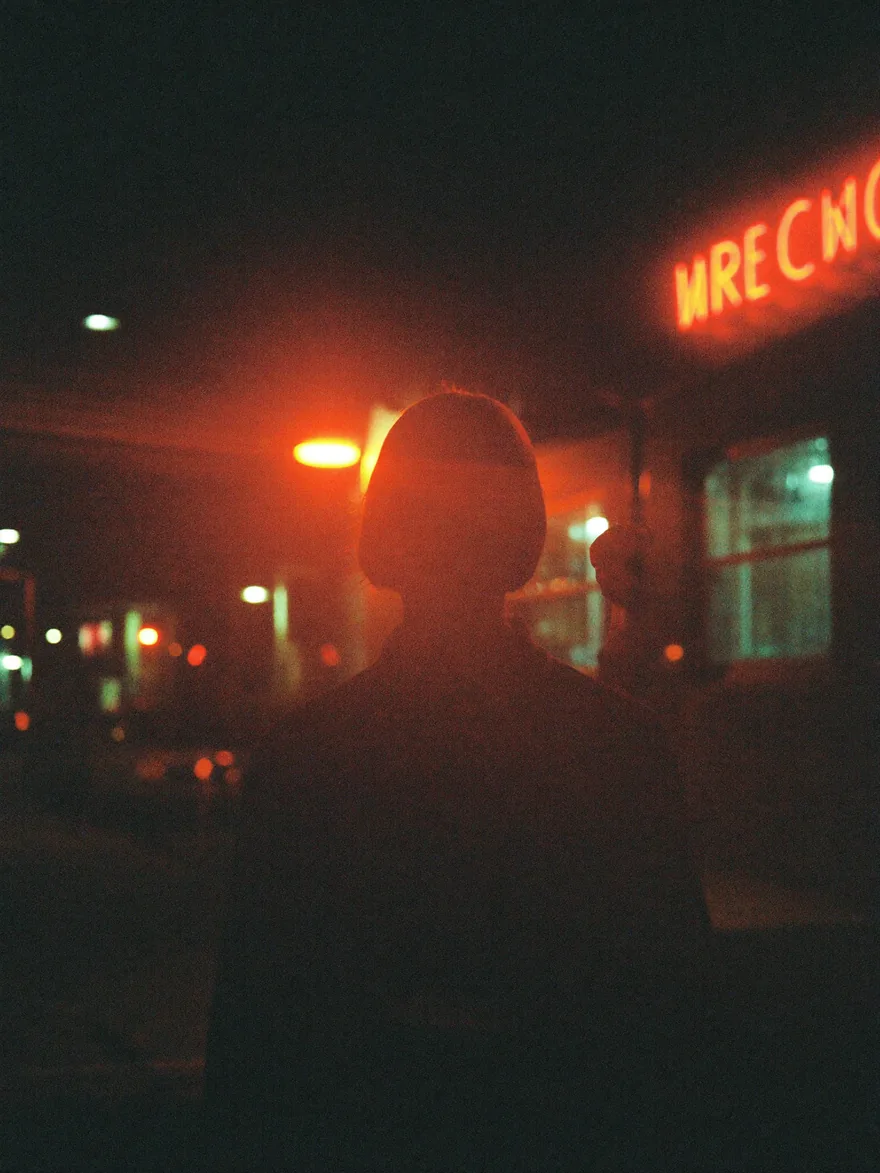
Find a source of light
Try this First Sight look on a shop window, a late bus stop or a portrait near a practical lamp. The frame needs something for the treatment to work with. Look for a bright source and a darker surrounding area. A colourful night edit begins with the relationship between those two places.
Choose which colour leads
Mixed light can pull a photograph in several directions. Decide whether the cool street, a warm lamp or a coloured sign is the main event. Adjust colour with that choice in mind. Keep the other colours as supporting notes rather than trying to make every light equally intense.
Use halation with restraint, then experiment
In Lens, try Halation around an existing highlight. Raise it enough to understand the effect, then reduce it until the bright edge still has shape. If you want a deliberately dreamlike image, push further. The important distinction is whether the glow is a choice or a setting you stopped noticing.
Give a light leak somewhere to enter
A leak placed near a bright edge can feel connected to the scene. A leak across a face can become the subject itself. Move it around the photograph before changing its strength. Position often makes a bigger difference to the picture than another increase in amount.
Keep some darkness
Compare with the original after each major change. If the night starts looking like daylight with coloured paint over it, try restoring some shadow. Export a version and look at it at ordinary phone brightness. The image should still have a clear subject when it is no longer filling your editing screen.